Power Query helps you to perform a series of steps to modify your data. One of the steps is to split a column by the number of characters easily.
Data Analytics Tricks in Power BI – Guidebook
You too can analyze data like a Data Scientist. No coding needed. No statistics needed.
Analyze & Visualize data using Power BI. (23 tricks in one book)
How to Split Column in Power Query
This is helpful when you have columns that you want to split by an equal number of characters, for eg. ID numbers or Codes. It cannot split the data with a distinct number of characters for each column. But we can eliminate some of the columns and apply the changes only to the desired columns by specifying the number of columns to be split into.
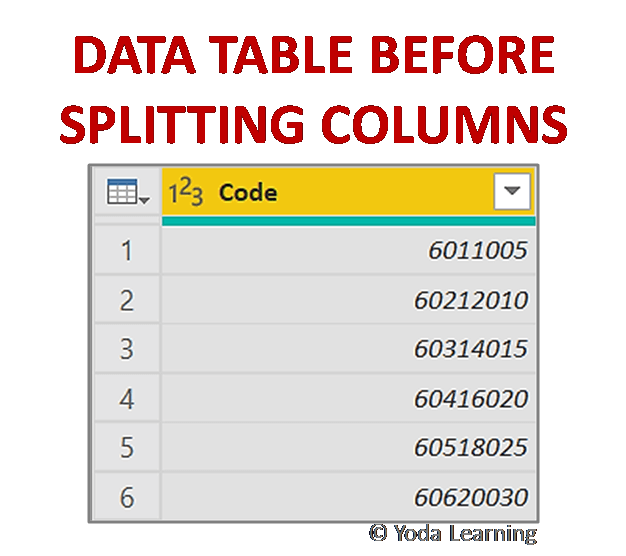
Let’s take an example where you have the following data source. We want to split into 3 characters so we will have 3 parts for each Code. You can easily split the column using Power Query step by step as follows:
- Step 1: Oper the Data Table in Power Query
- Step 2: Split Column by the number of characters in the Power Query
- Step 3: Click OK and View Split Column Result
- Step 4: Change Column Headers of Split Column with Power Query
Now, let’s see each step in detail
Step 1: Open the Data Table in Power Query
Go to the Home tab > New Source button > Excel > OK
Step 2: Split Column by Number of Characters
Go to Home > Split Columns > By Number of Characters
A Split Column window opens as shown below when you click on the above options. In this window, you have to specify the number of characters by which you want to split the data.

Step 3: Click on ok and View the Result
When you get the split columns you get to see that all the columns headers are referring the main column header. Like, in this case, the column headers are named as Code.1, Code.2 etc. as shown in below picture. You can rename the headers if you want.

Step 4: Change The Column Headers of the Split Columns
As discussed above in step3, we need to change the column headers as every column contains a different type of data. To change the column headers, double-click on it and just edit the name as per your need. The picture below shows the data for temperature and time.

Data Analytics Tricks in Power BI – Guidebook
You too can analyze data like a Data Scientist. No coding needed. No statistics needed.
Analyze & Visualize data using Power BI. (23 tricks in one book)